

Welcome To Hawkrown Professional
Are You Visiting As A Business Buyer (wholesaler/retailer) Or A Homeowner?
Business Buyer
Continue Here >Homeowner
Shop Retail Store >
Home / Blog Center / Chargers / Step-by-Step Guide to Installing a Showerhead Rubber Gasket
08/07/2025 | Hawkrown
The showerhead elastic washer is an imperative extra in the lavatory, basically serving the capacities of avoiding water spillage, keeping up water weight, and improving the fixing of the showerhead. Legitimate establishment of the showerhead elastic washer can not as it were expand the life expectancy of the showerhead but moreover guarantee smooth water stream. Following, we will present four common establishment strategies to offer assistance you effectively total this basic domestic repair task.
1. Plan Apparatuses and Materials
Before introducing the showerhead elastic washer, you to begin with require to plan the fundamental instruments and materials. These apparatuses ordinarily incorporate a torque, scissors or a edge, and the fitting elastic washer for your showerhead. Make beyond any doubt to select a washer that matches the show of your showerhead for the best fixing effect.
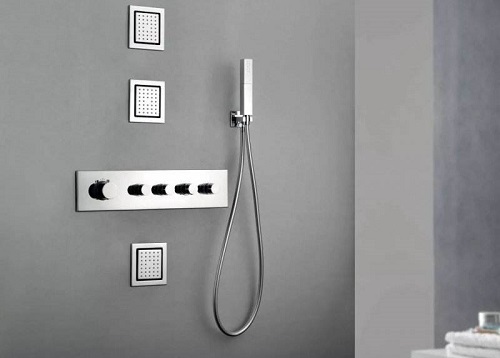
2. Evacuate the Showerhead
Removing the showerhead is the to begin with step in introducing the elastic washer. Utilize the torque to tenderly release the association nut between the showerhead and the pipe, being cautious not to apply as well much constrain so as not to harm the pipe. After expelling the showerhead, check its insides and clean off any conceivable limescale and flotsam and jetsam to guarantee that the unused washer can fit properly.
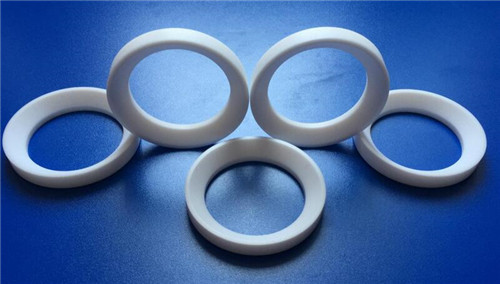
3. Introduce the Elastic Washer
After expelling the showerhead, you can continue to introduce the unused elastic washer. Put the elastic washer into the association opening of the showerhead, guaranteeing that it fits cozily in the appropriate position. Pay uncommon consideration to adjusting the internal and external rings of the showerhead to avoid misalignment that might cause spills. If the elastic washer has different pieces, it’s a great thought to begin from the peripheral washer and work your way internal, making beyond any doubt each washer is solidly seated.
4. Reattach the Showerhead
Once the elastic washer is introduced, you can reattach the showerhead. Adjust the showerhead with the pipe and tenderly screw the nut back on. When fixing, be careful of utilizing direct constrain, as overtightening may misshape the elastic washer and cause spills instep. Guarantee that the showerhead is safely introduced and not free, at that point turn on the fixture to check for any leaks.
Summary:Installing a showerhead elastic washer is not complicated. Fair carefully take after the steps sketched out over to successfully anticipate spillage and keep up a dry and clean washroom environment. Routinely checking and supplanting elastic washers is moreover an imperative portion of lavatory support, making a difference to upgrade the in general life expectancy and client involvement of the whole lavatory. We trust this article gives you with accommodating direction in your domestic repair endeavors!
Are You Visiting As A Business Buyer (wholesaler/retailer) Or A Homeowner?
Business Buyer
Continue Here >Homeowner
Shop Retail Store >