

Welcome To Hawkrown Professional
Are You Visiting As A Business Buyer (wholesaler/retailer) Or A Homeowner?
Business Buyer
Continue Here >Homeowner
Shop Retail Store >
Home / Blog Center / Chargers / How to Replace a Broken Integrated Ceiling Bath Heater Light
08/02/2025 | Hawkrown
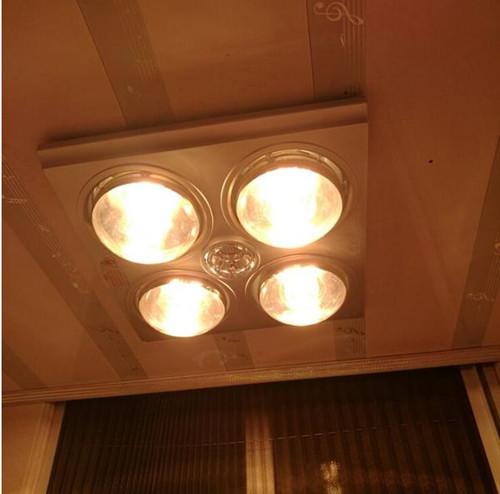
Nowadays, almost every household has installed a bath heater in their bathroom. Today, I will share some knowledge about what to do if the integrated ceiling bath heater breaks down. Let's take a look together.
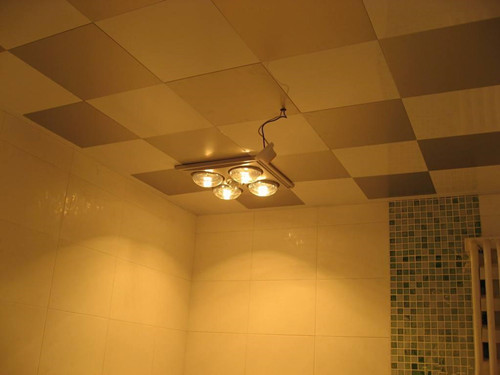
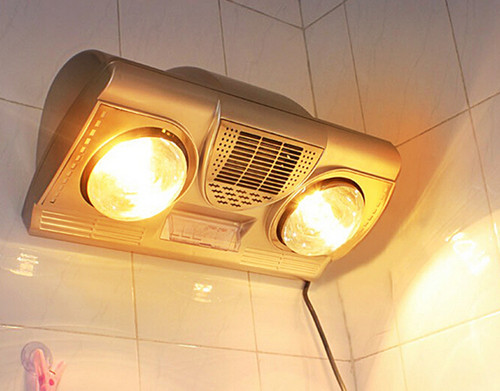
How to replace the integrated ceiling bath heater light?
First, let's prepare the tools and materials: a flat screwdriver, a pair of gloves, green insulating tape, electrical tape, a replacement power driver, and spare light tubes. Next, we need to check the types of ceiling lights. There are currently two types of ceiling lights: one is the LED ceiling light, which is the most commonly used, small in size, lightweight, and powered by a driver power supply. The second type is the fluorescent tube ceiling light, which uses fluorescent tubes; this is an older model that requires a rectifier, but it is increasingly rare in the market today.
After understanding the types of ceiling lights, we also need to have a basic understanding of electrical circuit principles. The circuit principle is actually quite simple: connect a 220V power supply to the driver. The driver has functions like current limiting, voltage reduction, rectification, and filtering, and after the driver outputs a direct current voltage to the LED lamp set, the first step in maintenance is to check if there is a power outage or if the wall switch is faulty. If it is determined that the light is damaged, we will remove the light from the ceiling.
Maintenance Steps
1. Replace the driver power supply: unplug the driver and the lamp board's socket.
2. Remove the lamp board and test it with a new driver on the ground by connecting it and turning on the power.
3. If the lamp lights up during the ground test, it indicates that the driver is damaged and needs to be replaced. If the lamp does not light up during the ground test, it likely means the lamp board is damaged and needs replacement.

4. After replacing the damaged components, reassemble the light and securely clip the ceiling panel back in place. Make sure to check if the lamp is functioning normally before replacing the panel; otherwise, you'll need to remove the panel again.
5. For fluorescent tube ceiling lights, the repair steps are different. The main action is to check if the light tube appears blackened. If it is black, please replace the tube promptly. If the tube is normal, then the rectifier needs to be replaced. Lastly, it is especially important to turn on the light to check if it is functioning normally before replacing the ceiling panel; otherwise, you will need to remove it again.
In summary:the above is the method for replacing the integrated ceiling bath heater light that I recommend. I hope it is helpful for everyone.
Are You Visiting As A Business Buyer (wholesaler/retailer) Or A Homeowner?
Business Buyer
Continue Here >Homeowner
Shop Retail Store >