

Welcome To Hawkrown Professional
Are You Visiting As A Business Buyer (wholesaler/retailer) Or A Homeowner?
Business Buyer
Continue Here >Homeowner
Shop Retail Store >
Home / Blog Center / Chargers / How to Efficiently Install a 4-Light Bathroom Heater
08/05/2025 | Hawkrown
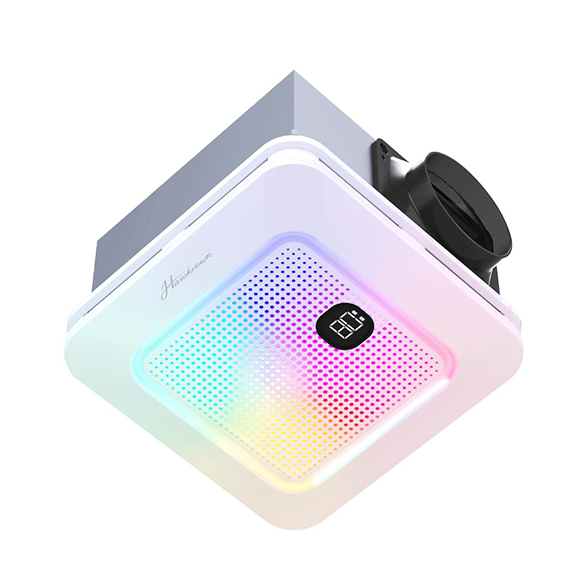
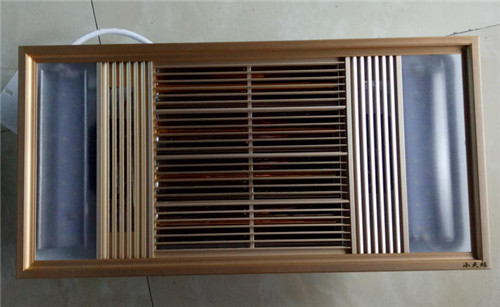
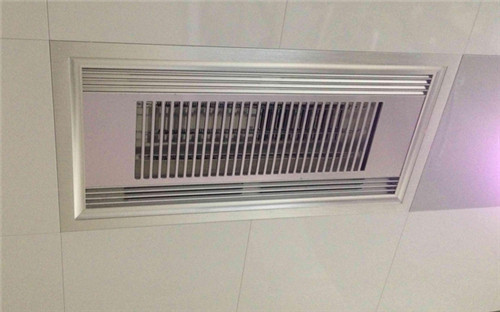
Numerous individuals introduce a four-light warming ceiling light, commonly known as a radiator shower, in their lavatories. The establishment steps for this sort of shower radiator can be broken down into four steps. Here's a brief presentation.
Step-by-Step Installation for a 4-Lamp Bath Heater
1. Planning
Some time recently introducing the warming shower, we to begin with got to turn off the bathroom's circuit breaker. At that point ready to degree the estimate of the saved gap to check on the off chance that it is appropriate. Following, it is imperative to confirm that there are sufficient electrical wires saved for the radiator which one conclusion of the ventilation conduit is prepared and associated to the ventilation pipe. Furthermore, we should inspect the warming shower for any harm and dismantle its extras.
2. Interface Wires and Ventilation Duct
Using pliers, we are going strip a area of the separator layer from the warming bath's wires and the saved wires. At that point, employing a screwdriver, we are going extricate the screws at the wiring terminals. Concurring to the markings on the warming light or the establishment manual, we are going embed the wires into the comparing terminals and fix the screws. After interfacing the wires for the light, we will embed the heater's base into the pre-installed gap, interface the ventilation channel to the heater's outlet, and seal it with waterproof tape.
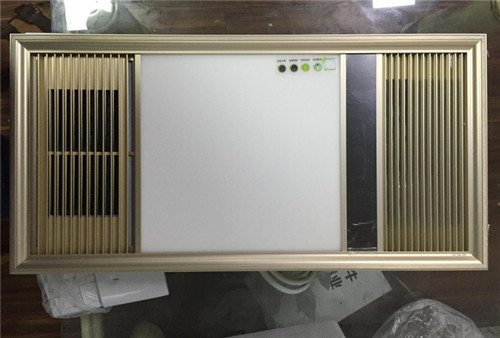
3. Introduce the Radiator
When introducing the radiator base, we to begin with got to secure the clips on both sides of the base. At that point we will embed the base into the pre-installed gap and clamp the clips onto the secure. After the base is secured, we'll hang the spring hooks on the four corners of the base and press the cover plate down whereas securing it with the snares at the best. At last, we'll screw within the lighting and heating lamps into the light base.
4. Introduce the Board
Amid the board establishment, we are going strip a parcel of the cover from the wires and embed them into the corresponding wire connections on the switch, tightening the screws. Another, we will press the switch base against the switch box and embed the screws into the screw gaps, fixing them. At last, we are going press the switch board onto the switch base.

In outline:Usually a basic presentation to how to introduce a warming shower with four lights. We trust that this article gives a few reference and help for future establishments. Introducing a warming shower requires a certain level of encounter and expertise, so it is best to contract a proficient circuit tester for the establishment. For more related data, it would be ideal if you proceed to take after our site.
Are You Visiting As A Business Buyer (wholesaler/retailer) Or A Homeowner?
Business Buyer
Continue Here >Homeowner
Shop Retail Store >