

Welcome To Hawkrown Professional
Are You Visiting As A Business Buyer (wholesaler/retailer) Or A Homeowner?
Business Buyer
Continue Here >Homeowner
Shop Retail Store >
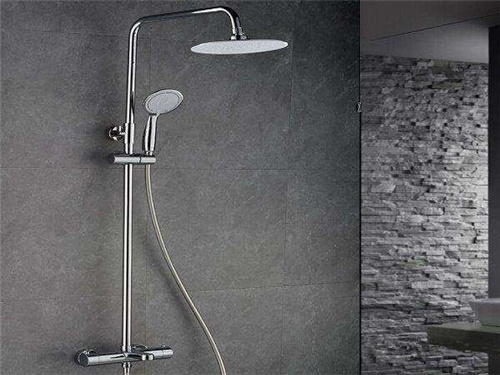
Home / Blog Center / Chargers / Step-by-Step Guide to Replacing Your Shower Valve Cartridge
17/07/2025 | Hawkrown
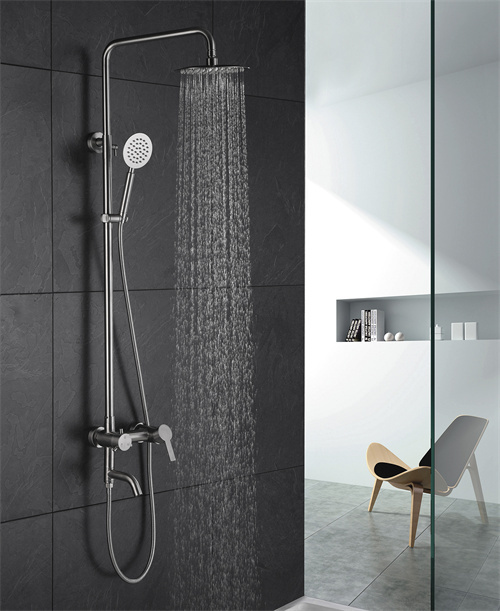
In day by day life, the showerhead is an vital device for showering. In any case, as time goes by, the shower valve center may breakdown, driving to issues such as destitute water stream or spilling. In such cases, supplanting the shower valve center gets to be a vital repair step. This article gives you with a point by point instructional exercise on how to supplant the shower valve center, permitting you to effectively total this assignment at home.
Part One: Plan Instruments and Materials
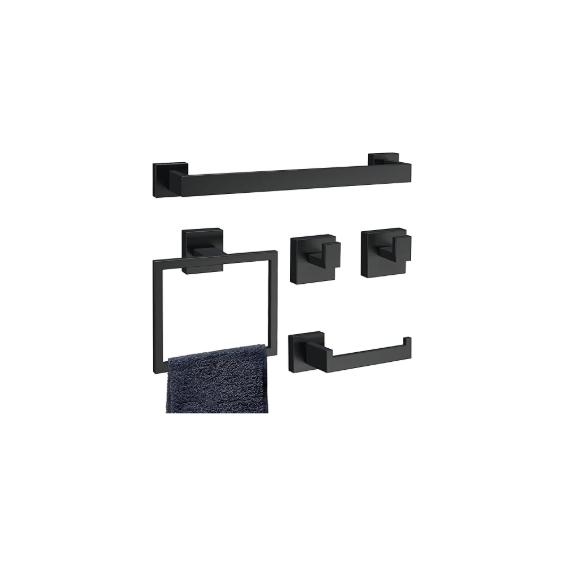
Before supplanting the shower valve center, you require to get ready a few apparatuses and materials. To begin with, you will require a torque to dismantle the shower components. Also, it is suggested to have a modern valve center, which you can buy based on the demonstrate of your existing valve center. There are too a few assistant instruments, such as a screwdriver and a cloth, for cleaning and securing components. Make beyond any doubt to have all the essential instruments and materials arranged some time recently starting, to dodge interferences amid the process.

Part Two: Closed Off the Water Supply
Before you begin supplanting the shower valve center, it is fundamental to closed off the important water supply. This is to avoid any spills amid dismantling. Ordinarily, there will be a valve close the water pipe; you can near it by turning it clockwise. If you cannot discover the valve, you may briefly closed off the water supply for the whole house. After closing off the water, turn on the shower to let out any overabundance water in the channels, guaranteeing that the another steps can continue smoothly.
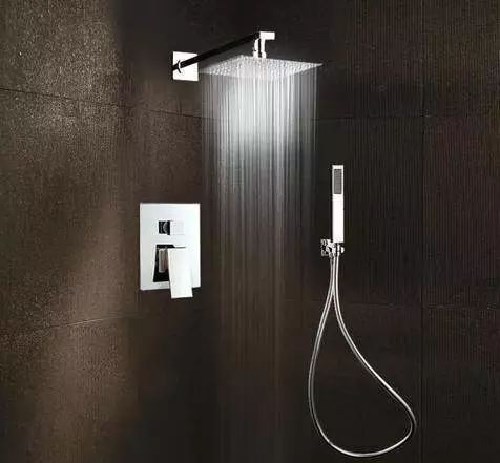
Part Three: Dismantle the Showerhead
Next, you require to start dismantling the showerhead. At the base of the showerhead, there is ordinarily a settled screw that you can expel utilizing a torque or screwdriver. Carefully confine the showerhead from the valve center, as the valve center is regularly secured at the joint. Pay consideration to how it is collected amid dismantling, so you can reference it when introducing afterward. At the same time, utilize a cloth to clean the encompassing zone to anticipate clean from influencing the unused valve core's performance.
Part Four: Supplant the Valve Core
Once the ancient valve center is expelled, introduce the unused valve center in put. Guarantee that the unused valve center is consistent with the show of the unique one, and secure it as per your prior perceptions. When introducing, delicately turn and press it to guarantee that the valve center is secure and redress. Another, reattach the showerhead to its unique position, fixing the settled screws to avoid leaks.
Part Five: Testing and Last Cleanup
After completing the establishment, you can revive the water supply to check the water stream from the showerhead. Watch the zone around the valve center for any signs of spilling. If everything is typical, congrats, you have effectively supplanted the shower valve center. At long last, utilize a cloth to clean the work zone and appreciate a charming and unwinding washing time.
By taking after these steps, you can effortlessly supplant the shower valve center. Acing this aptitude not as it were spares repair costs for your domestic but too improves your jack of all trades capacities. I trust this data is accommodating to you!
Are You Visiting As A Business Buyer (wholesaler/retailer) Or A Homeowner?
Business Buyer
Continue Here >Homeowner
Shop Retail Store >