

Welcome To Hawkrown Professional
Are You Visiting As A Business Buyer (wholesaler/retailer) Or A Homeowner?
Business Buyer
Continue Here >Homeowner
Shop Retail Store >
Home / Blog Center / Chargers / The Ultimate Guide to Wall-Hung Boiler Installation
22/07/2025 | Hawkrown
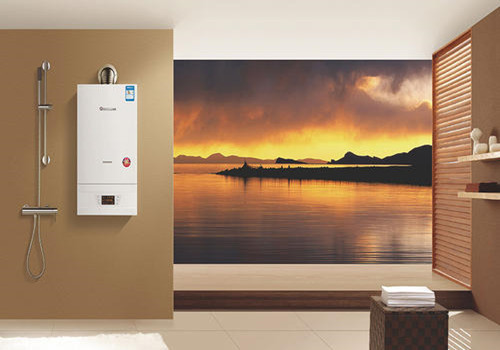
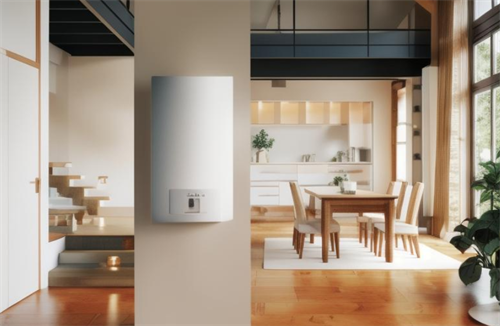
Numerous individuals select to introduce gas wall-mounted boilers in their kitchens. The establishment strategy for a gas wall-mounted evaporator can be separated into the taking after four steps. Underneath is a brief introduction:
1. Preparation
First, unload the wall-mounted evaporator, take out the fundamental unit and embellishments, and check whether the details and demonstrate on the primary unit coordinate those on the bundling. Moreover, confirm that all item adornments are total. Amid the establishment of the wall-mounted evaporator, it is ordinarily fundamental to introduce a vent pipe, so you ought to carefully check whether the vent pipe adornments are all accessible. Also, we require to assess the establishment area, for occurrence, check if the kitchen has a pre-drilled vent gap. If there is no gap, we must to begin with make the vent opening.
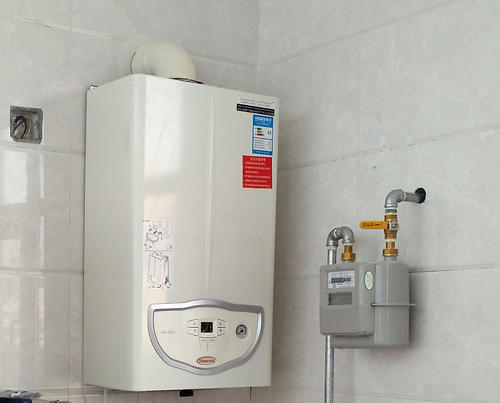
2. Introducing the Wall-Mounted Boiler
Begin by measuring the establishment position of the wall-mounted kettle mounting plate with a ruler and make marks. By and large, the mounting plate is situated 14 cm underneath the pipe opening center. Following, put the mounting plate at the establishment position, guaranteeing it is level, and utilize a marker to check the mounting holes' positions. At that point, penetrate gaps in the divider utilizing an electric penetrate, adjust the mounting plate with the divider gaps, and secure it with development jolts. At long last, lift the wall-mounted evaporator and hang it on the mounting plate. After the kettle is introduced, check with a ruler to guarantee it is more than 30 cm from the gas stove and keeps up a separate of at slightest 20 cm from the wall.
3. Introducing the Vent Pipe
Insert a 90-degree elbow pipe into the straight pipe, and utilize aluminum thwart tape to wrap and secure the joint between the elbow and straight pipe. It is fitting to wrap it a few times. Following, put the elastic ring over the pipe pipe, embed the straight parcel into the divider vent opening, and press the elastic ring against the divider. At that point, interface the elbow pipe to the pipe outlet of the wall-mounted evaporator, fixing the association with aluminum thwart tape. When introducing the open air pipe pipe, guarantee the conclusion is slanted at almost 3 degrees.

4. Interfacing the Piping
Refer to the item manual to get it the capacities of the five channeling interfacing at the foot of the wall-mounted evaporator. Interface the suitable water and gas channels to these interfacing. When introducing the water channels, put a gasket interior the joint, and fix the nut safely. After interfacing the gas channels, apply lathery water to the gas pipe intersection to check for spills. Once all channeling is associated, open the wall-mounted boiler's water circuit valve and the cosmetics water valve to fill the framework. When the weight comes to 1-1.5 bar, near the cosmetics water valve.
In outline:this is a brief presentation to the establishment strategy of wall-mounted boilers. I trust that after perusing this article, everybody can pick up a few understanding of the prepare. After the wall-mounted kettle is introduced, we too require to fill it with water and perform startup testing. For more related data, if it's not too much trouble proceed to take after our site.
Are You Visiting As A Business Buyer (wholesaler/retailer) Or A Homeowner?
Business Buyer
Continue Here >Homeowner
Shop Retail Store >