


Welcome To Hawkrown Professional
Are You Visiting As A Business Buyer (wholesaler/retailer) Or A Homeowner?
Business Buyer
Continue Here >Homeowner
Shop Retail Store >
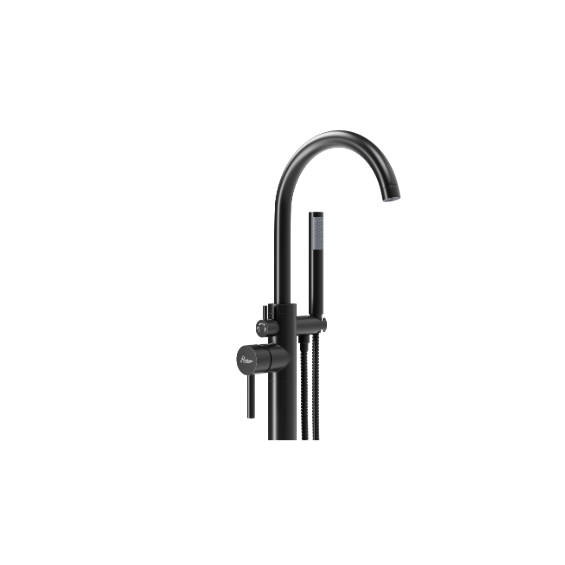
Home / Blog Center / Chargers / A Comprehensive Guide to Removing Your Shower Diverter
24/07/2025 | Hawkrown
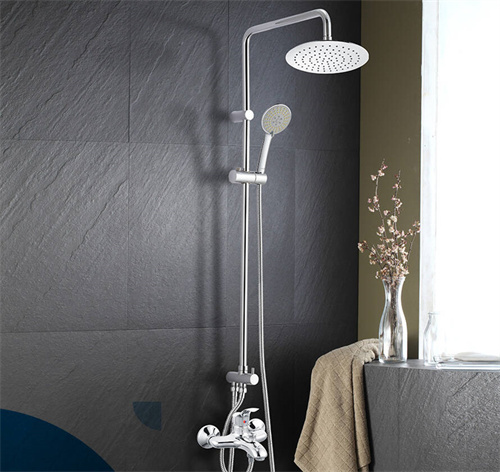
In the prepare of washing at domestic, the shower diverter plays a vital part. Over time, the diverter may encounter issues such as destitute water stream or spills, which can lead to a decreased showering encounter. At this point, destroying and cleaning or supplanting the diverter gets to be especially imperative. Nowadays, we will give you with a straightforward and easy-to-understand destroying direct to offer assistance you fathom this problem.
Step 1: Plan Tools
Before beginning to disassemble the shower diverter, to begin with plan the vital apparatuses. For the most part, you will require an movable torque, a screwdriver, and a towel. Also, if required, you may need to plan a bowl to capture any water that might spill out amid the disassembling handle. Having the right instruments can make the disassembling handle smoother.
Step 2: Turn Off the Water Supply
To guarantee security, if you don't mind be beyond any doubt to turn off the water supply some time recently destroying the diverter. This can ordinarily be done by turning the valve of the fixture. After closing off the water supply, you can put a bowl beneath the diverter to capture any remaining water in the channels. This makes a difference avoid wetting the encompassing zone amid the destroying process.

Step 3: Evacuate the Showerhead
Next, you require to expel the showerhead itself. To begin with, utilize a screwdriver or torque to carefully unscrew the nuts interfacing the showerhead. This handle may require a few exertion, as the nuts can some of the time be very tight. It is suggested to wrap a towel around the nut whereas working to increment contact, making it simpler to disassemble. After expelling the showerhead, take care to keep the components intaglio for reinstallation later.
Step 4: Disassemble the Diverter
After effectively expelling the showerhead, the another step is to disassemble the diverter. Find the portion where the diverter interfaces to the pipe and utilize the torque to turn it counterclockwise until it releases. Be cautious not to apply as well much drive to dodge harming the pipe. Once the diverter is totally expelled, you can review the insides and, if essential, continue to clean or supplant it.

Step 5: Clean and Replace
Once destroying is total, you can altogether clean the diverter to evacuate collected scale and pollutions. If you discover the diverter harmed, it is suggested to supplant it with a modern one. Also, you might need to check the interfacing channels to guarantee there are no signs of wear or spills. After cleaning and supplanting, you can continue with reinstallation to reestablish the ordinary work of the shower.
Step 6: Reinstall
The last step is to reconnect the diverter to the pipe. Amid establishment, make beyond any doubt the strings are adjusted and delicately fix with a torque, dodging intemperate drive. Once completed, reinstall the showerhead, turn on the water supply for testing, and check for any spills. After affirming everything is in arrange, your disassembling and establishment of the shower diverter will be effectively completed.

By taking after the steps over, you can effectively destroy and supplant the shower diverter, improving your consolation and water stream involvement whereas washing. We trust this direct is accommodating to you!
Are You Visiting As A Business Buyer (wholesaler/retailer) Or A Homeowner?
Business Buyer
Continue Here >Homeowner
Shop Retail Store >